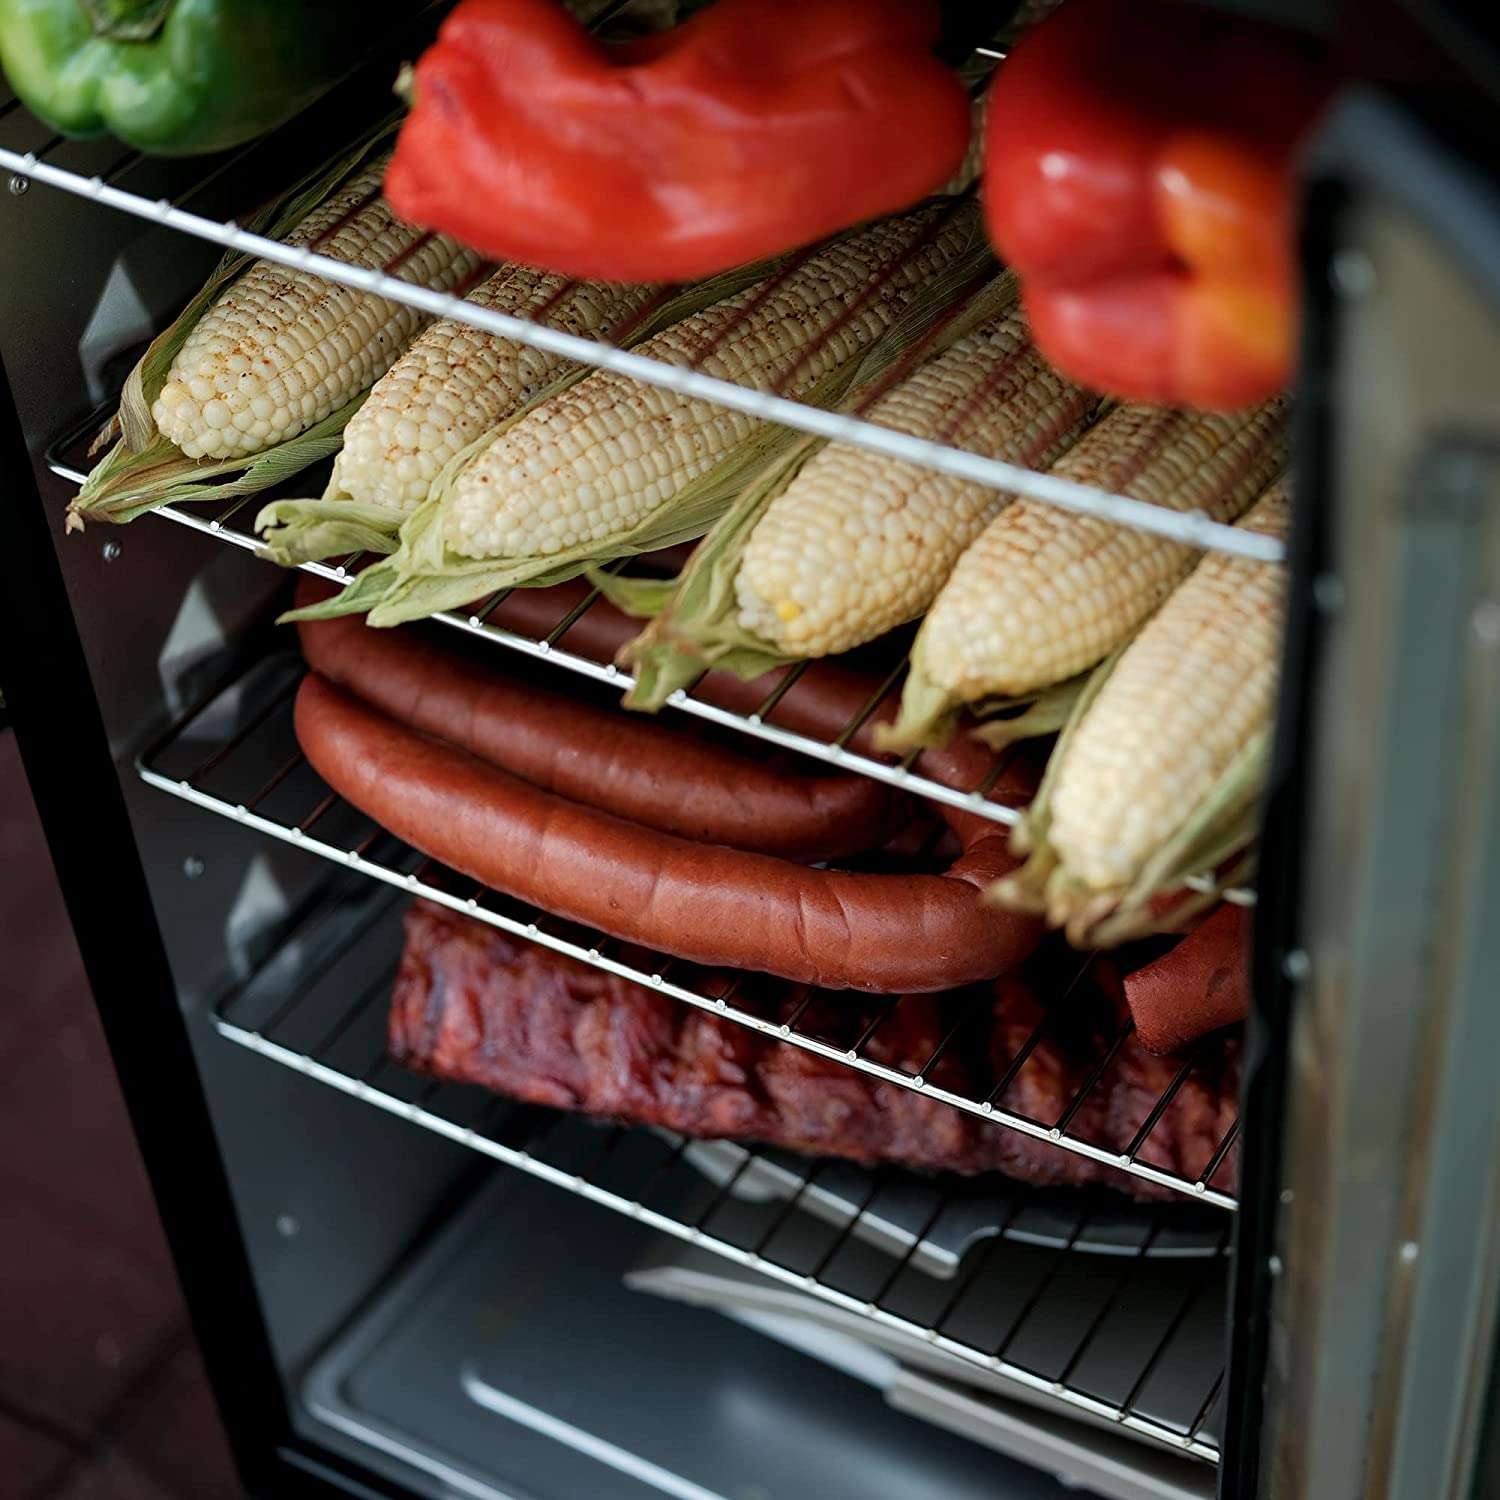
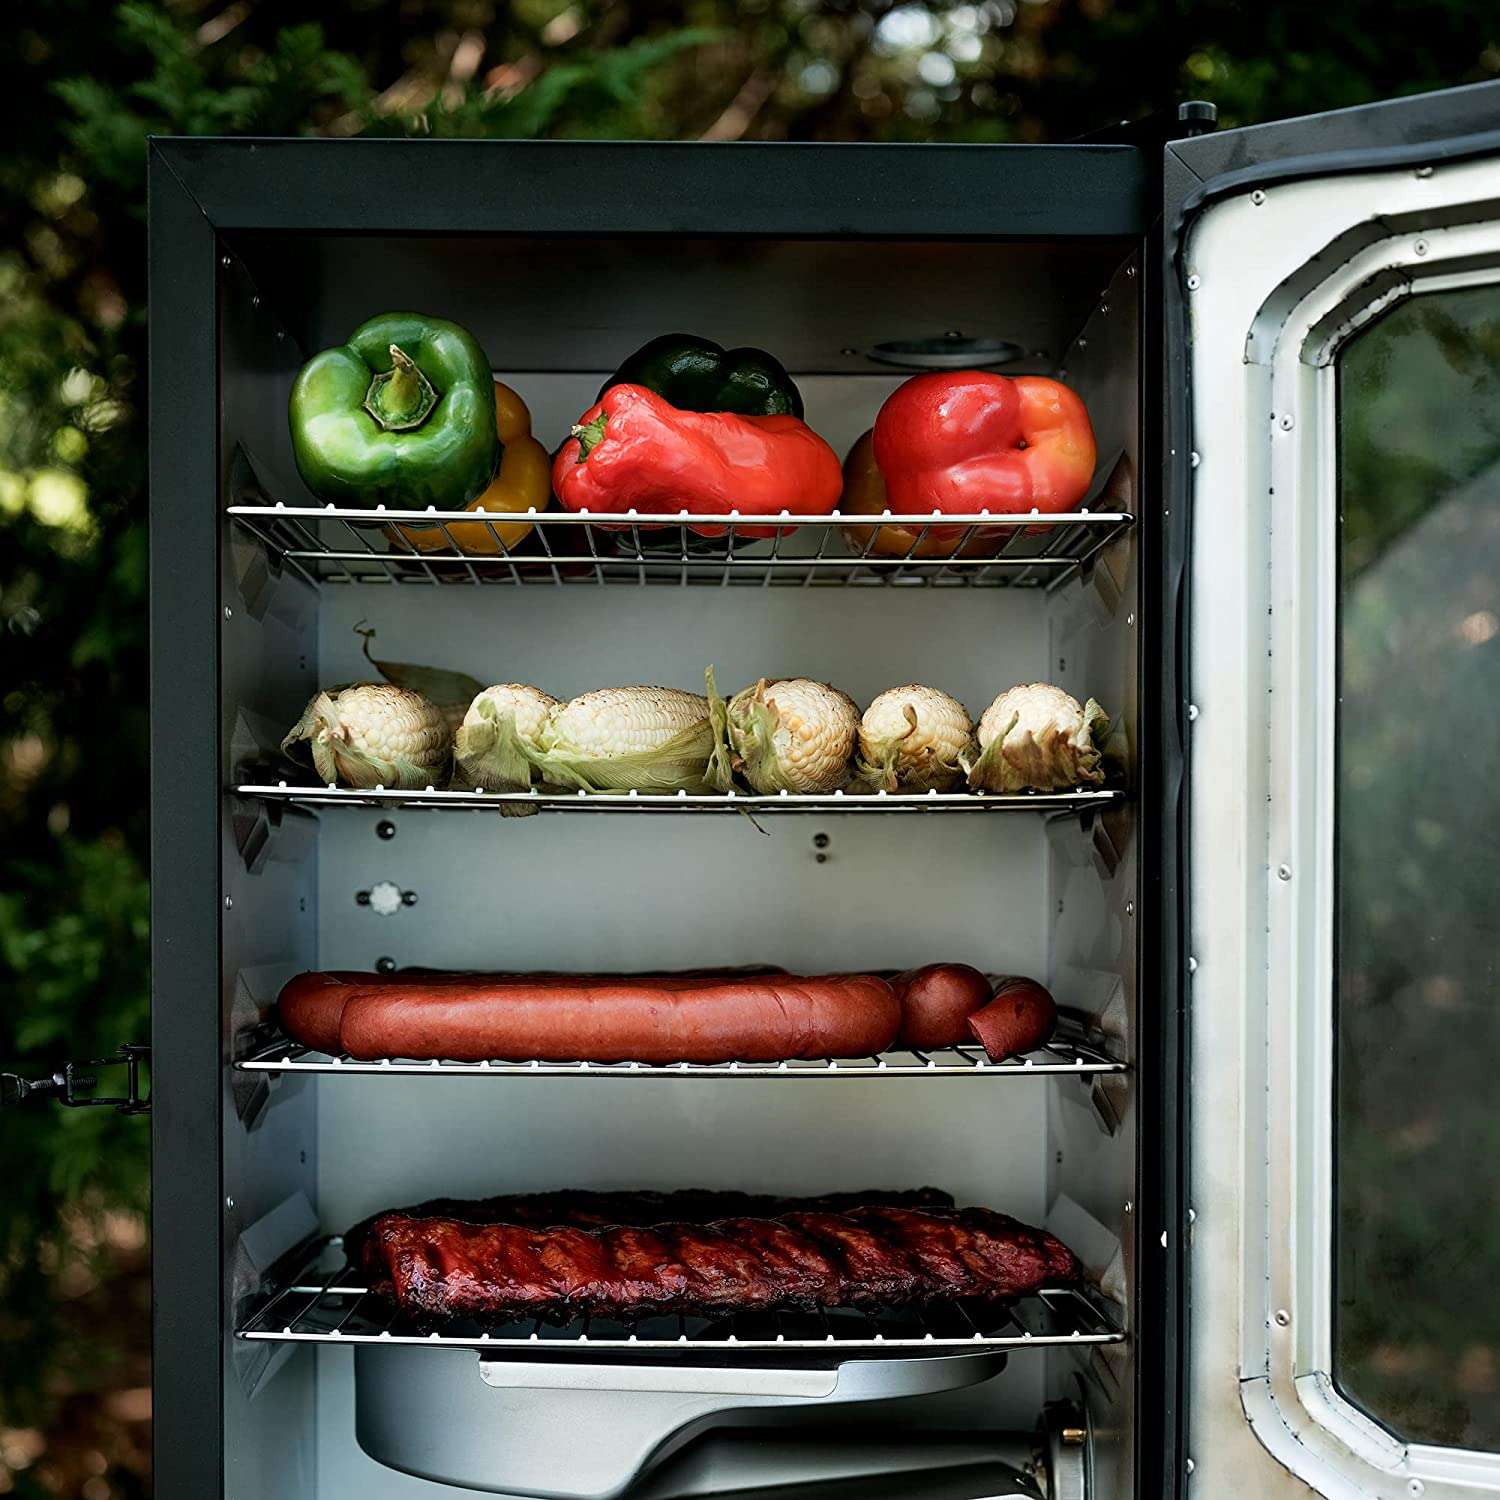
Why hover over a stove when the sultry summer camping season avails the perfect opportunity to take your cooking outdoors? Nothing tastes better than a grilled dish, fresh off the hot coals. There’s just something about grilled meat that appeals to that hunter-gatherer instinct living inside us.
And it’s not just about the scrumptious taste of smoked food. Anytime you’re smoking meat, chances are, you’re camping outdoors with a bunch of friends.

Image Source: Amazon
But to get started on this culinary art, there’s one tool that you can’t do without, that is, an electric smoker.
Many people prefer electric smokers because of their clean energy. Plus, they don’t require constant supervision, meaning that you can leave the meat cooking and go collect more wood for the evening campfire. But how does this piece of kitchen equipment work? Read on to learn how to use an electric smoker.
A Step-by-Step Guide on How to Use an Electric Smoker
Step 1: Decide on the Type of Electric Smoker
There’s a myriad of electric smokers on the market, each with a set of unique features. To determine which one meets your needs, compare and contrast the different features then settle on those that would provide the most benefit.
One of the attributes you should pay attention to is the availability of a rheostat. The rheostat, which comes in either a knob or digital display, gives users the ability to control the internal temperature of the smoker.
Other aspects you should examine are: capacity, material used in its build and versatility. If you’re not sure of what to buy, we provides a detailed review of the best electric smokers under $200.
Step 2: Read and Understand the Manufacturer Instructions
Assuming that you’ve found a quality smoker that meets your needs, the next step is to go through all the guidelines given by the manufacturer. Often, you will find a booklet included in the package.
This booklet contains crucial information on how to use the electric smoker. And even though you have used a different kind of smoker before, you should not assume that they have the same working mechanisms. If you purchased the product online and no instructions have been provided, you can check the manufacturer’s website.
Step 3: Season the Electric Smoker as Advised by the Manufacturer
An integral step in using an electric smoker is learning how to season or cure it. But why is this so important? Now, when your newly built electric smoker is packed inside a box, it brings with it the residues of its construction.
This could be uncured paint, solvents, adhesives, dirt and more. Some of these remnants are toxic and will add an unpleasant flavor in your food. By seasoning your smoker, you will be removing all those manufacturing remnants.
Step 4: Prepping the Meat

Image Source: Amazon
The steps you take in this stage will mainly depend on the type of meat you have. You may be forced to marinate and perform other steps to make it ready for grilling or smoking.
Step 5: Seasoning the Meat
Once the meat is ready, the next step is to season it. You can use any ingredients of your choosing for this. Most people use herbs, salt, and sugar or soak it in acidic marinade.
Step 6: Leave the Meat to Season Overnight
After seasoning the meat with ingredients of your choice, leave it for a night. The purpose of doing this is to allow the seasoned food ample time to absorb the different flavors. This way, you can enjoy the mélange of flavors once it’s grilled.
Step 7: Turning on Your Electric Smoker
If the electric smoker has a water receptacle, you’ll need to fill it up with water. Alternatively, you can use a disposable container so that you’re not forced to refill it after each use. You should check the level of water from time to time as it may require a refill.
Step 8: Invest in the Right Wood Chips
You can get quality wood chips from your local hardware, grocery, or shop. However, some electric smokers are designed to work with very specific wood chips, so you should check on this before purchasing. Some common options for wood chips include cherry, cedar, maple, alder, hickory, and plum. If you are using a standard electric smoker, it consumers about 4 cups of wood chips within a period of 3 to 5 hours.
Step 9: Controlling the Smoker’s Temperature
Even though most electric smokers come equipped with internal temperature gauge, you should monitor the temperature closely. Before you can start grilling, you’ll need to choose a specific temperature. Do not start cooking until the smoker reaches the set temperature.
Step 10: Begin!
After ensuring that you have the right amount of wood chips and setting the right temperature, you can place the seasoned food on the rack and get started on the grilling part. If you’re cooking meat, smoke it until it becomes tender.
Tips to Maintain your Electric Smoker

Image Source: Amazon
If you want your smoker to last a long time, then you’ll need to take good care of it.
The most important aspect of its maintenance is cleaning. You should clean it after each use to prevent grime from accumulating. When cleaning, be cautious not to remove its protective coating. Instead, you should scrape it gently and get rid of all the grease.
Another way to maintain your electric smoker is to protect it from rust. Rusk can cause your smoker to function poorly. When cleaning, be on the lookout for rust.
If you notice any rusting spots, use sandpaper or wire brush to scrape them off. Sometimes you may notice that your smoker is shedding weight. When this happens, use quality barbecue paint to repaint it.
Wrap Up
In ten simple steps, you can have that tenderly smoked steak that you’ve been wishing for. Smoking using an electric smoker is incredibly easy, since the equipment does most of the work.
However, you should take proper care if you want the smoker to last a while. Routine maintenance tasks include cleaning after each use, getting rid of rust, and repainting in case it starts shedding its current paint.


